Image specifications and uploading
-
Ensure that all photos (self, Photo ID) are of excellent quality and meet the specified parameters as per Photo Specifications.
-
Crop your personal photo into a square shape, ensuring even lighting and a neutral background, and crop the Photo ID photo to fit the rectangular dimensions of the ID card while maintaining clarity and compliance with ID guidelines.
-
It is advised to have well-processed images stored on your device. Avoid taking selfies; instead, consider going to a professional photographer or ask a friend who’s good at photography.
How to Upload an Image
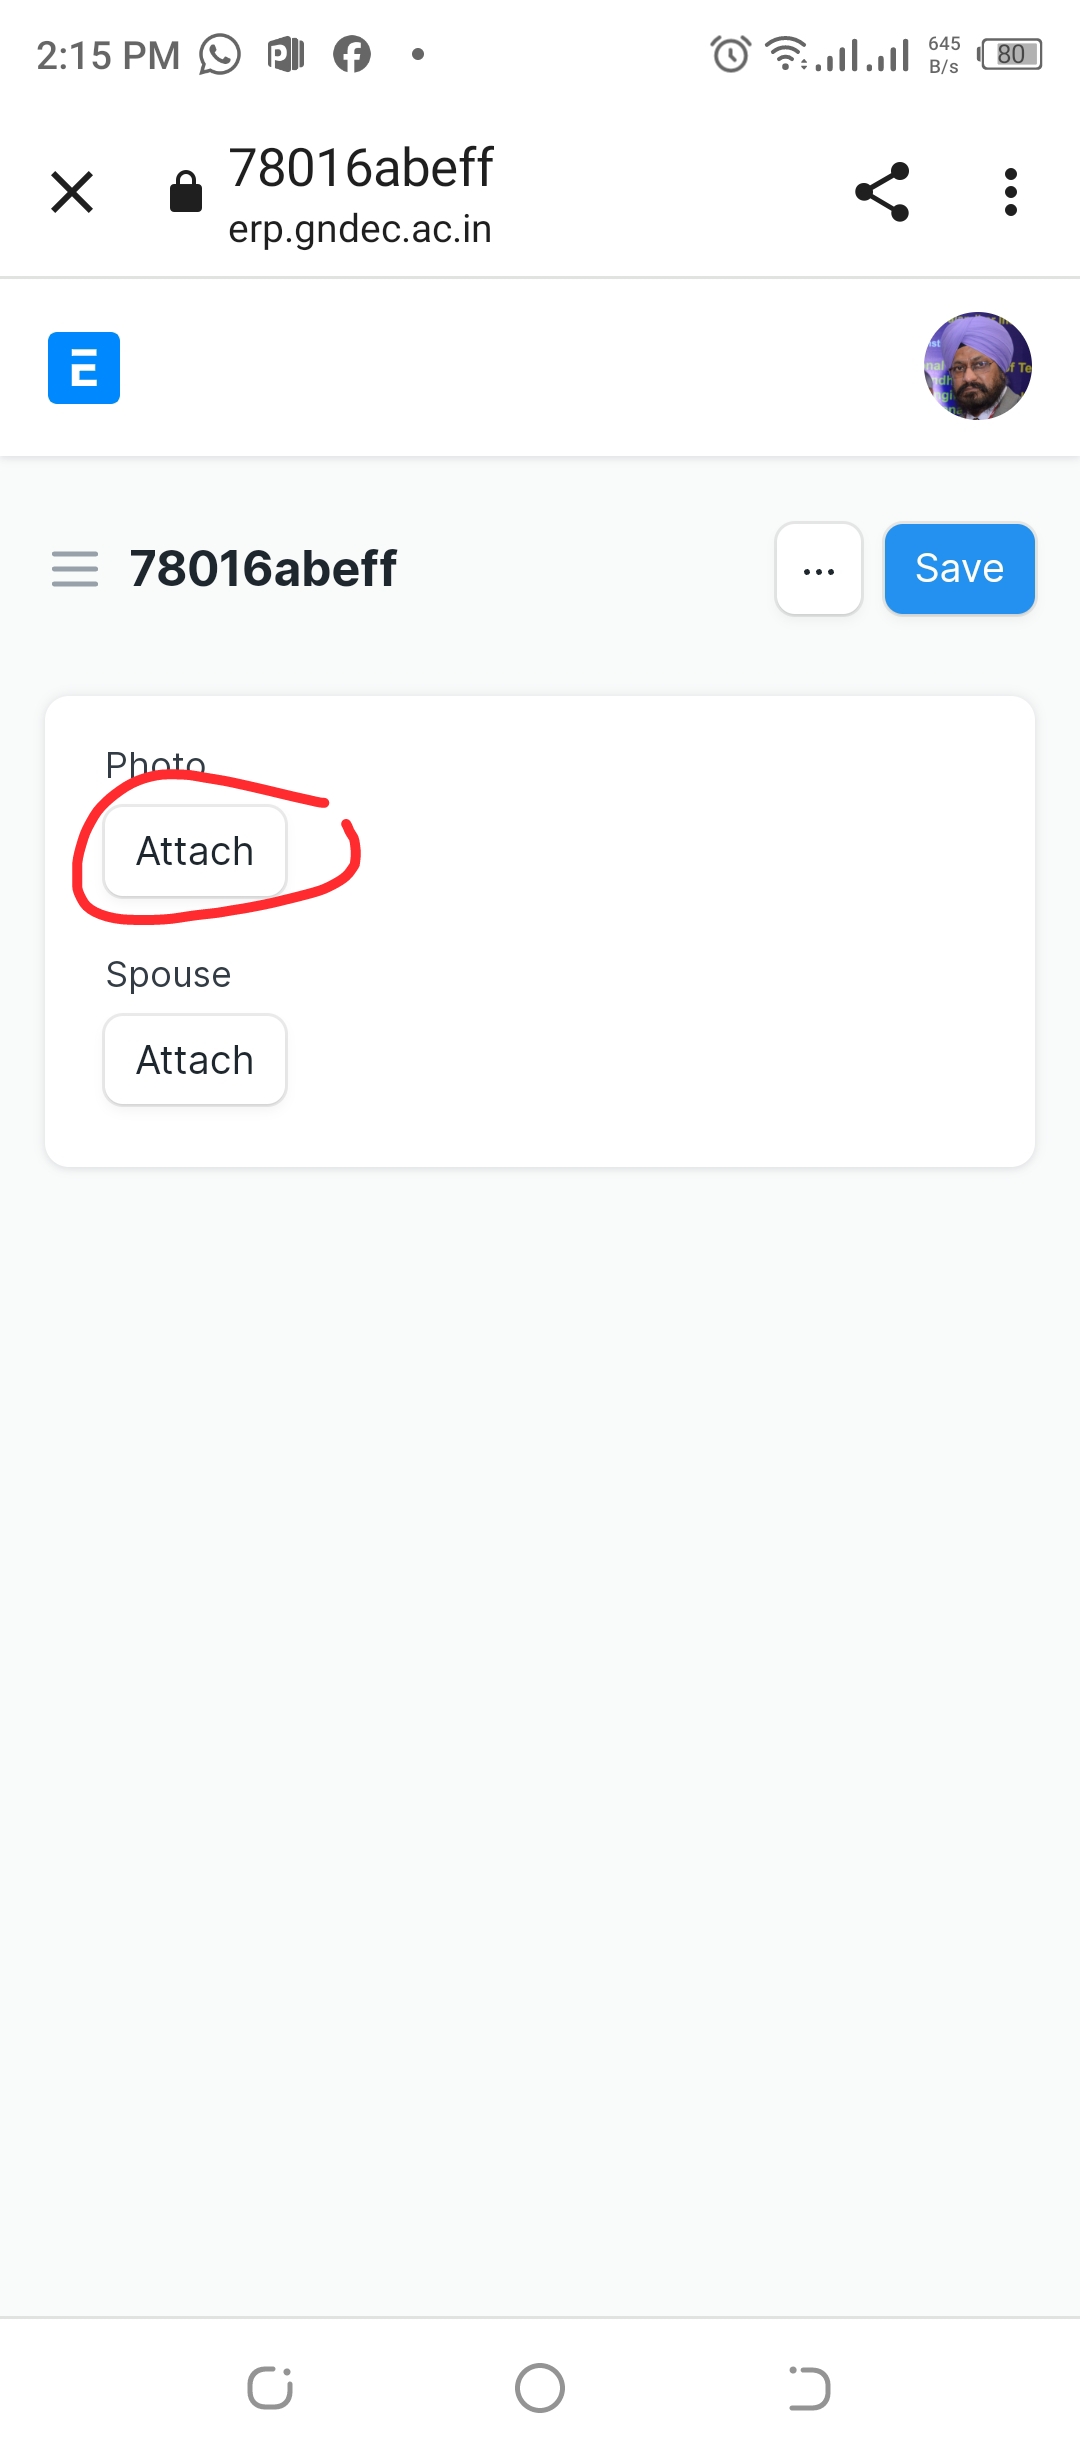
- To select or choose photo click on attach.
-
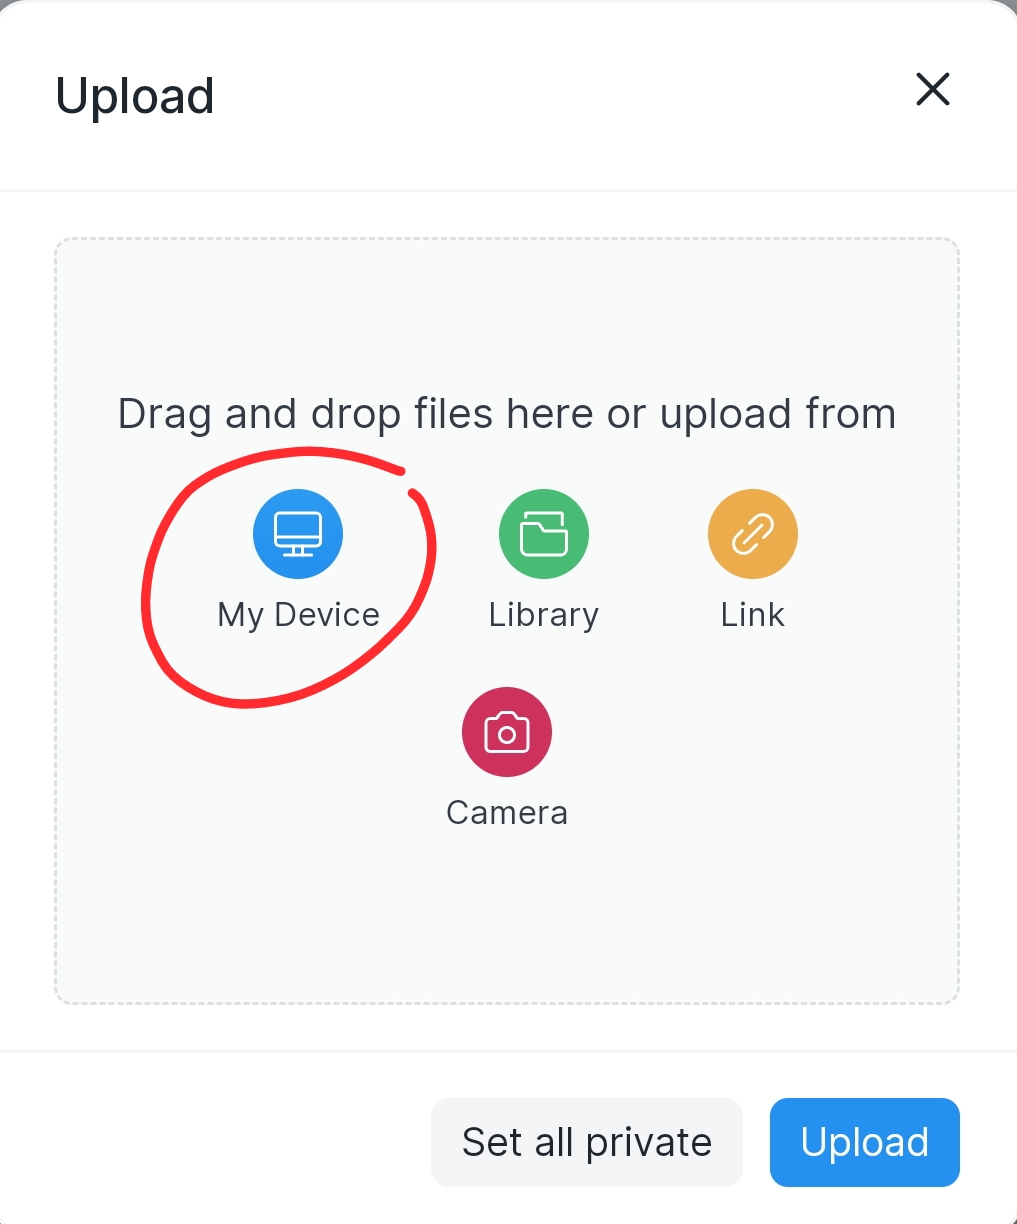
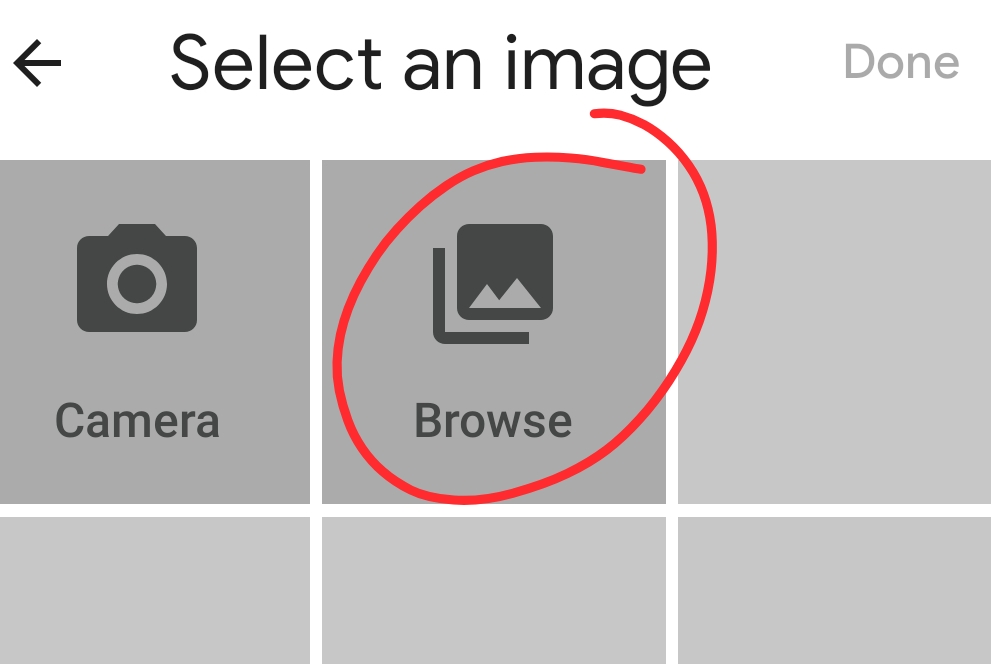
Now to Upload Photo Select the option My Device.
-
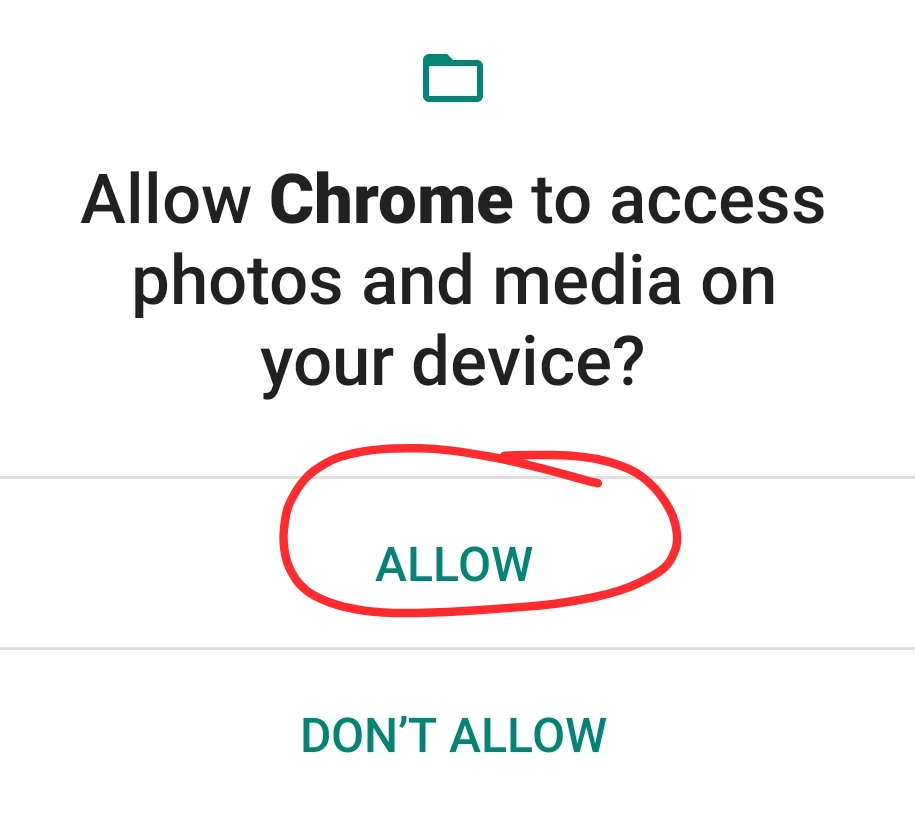
Allow your Browser to access media on your device.
- Choose a suitable Photo from your Device.
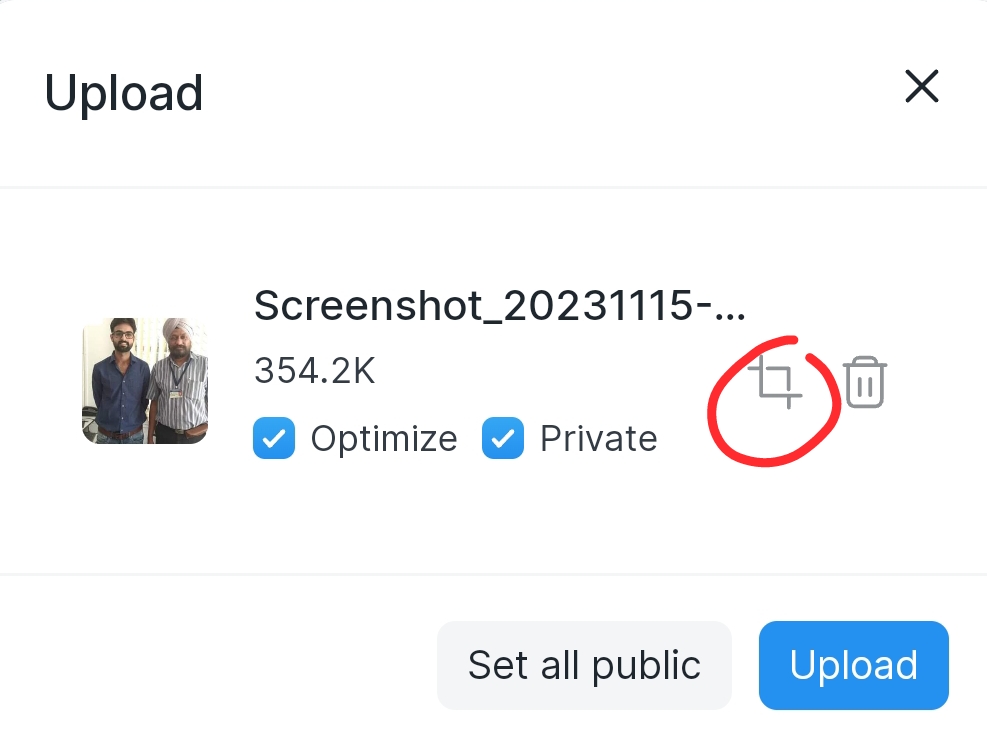
- Now check the Optimize checkbox.
- And Click on the Crop to Crop your Photo.
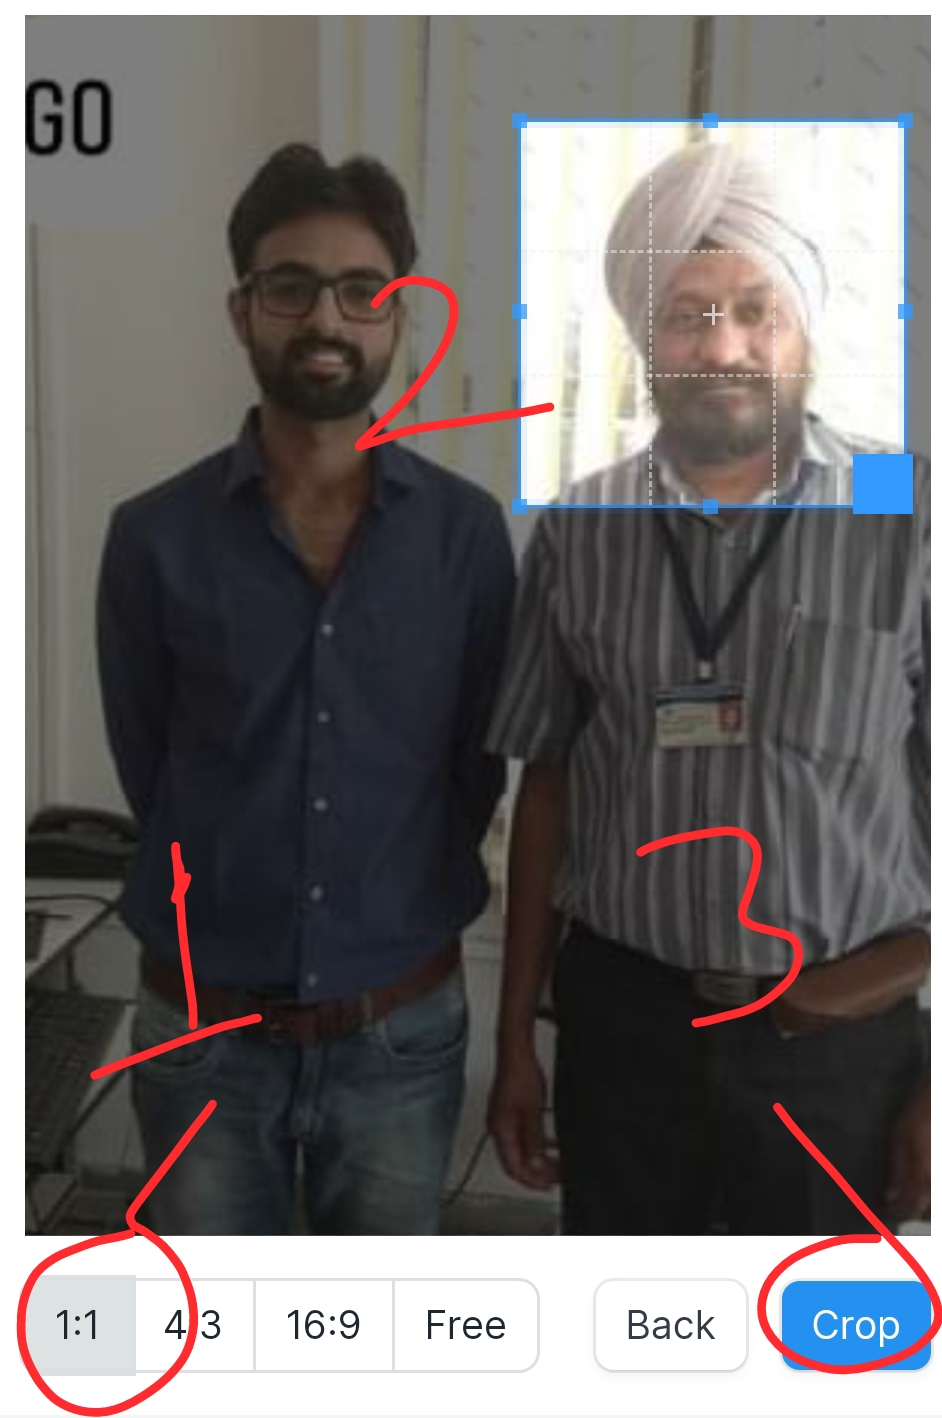
- Set the Aspect ration 1:1.
- Adjust the Box to make sure to capture your Face properly
- Click on Crop.
-
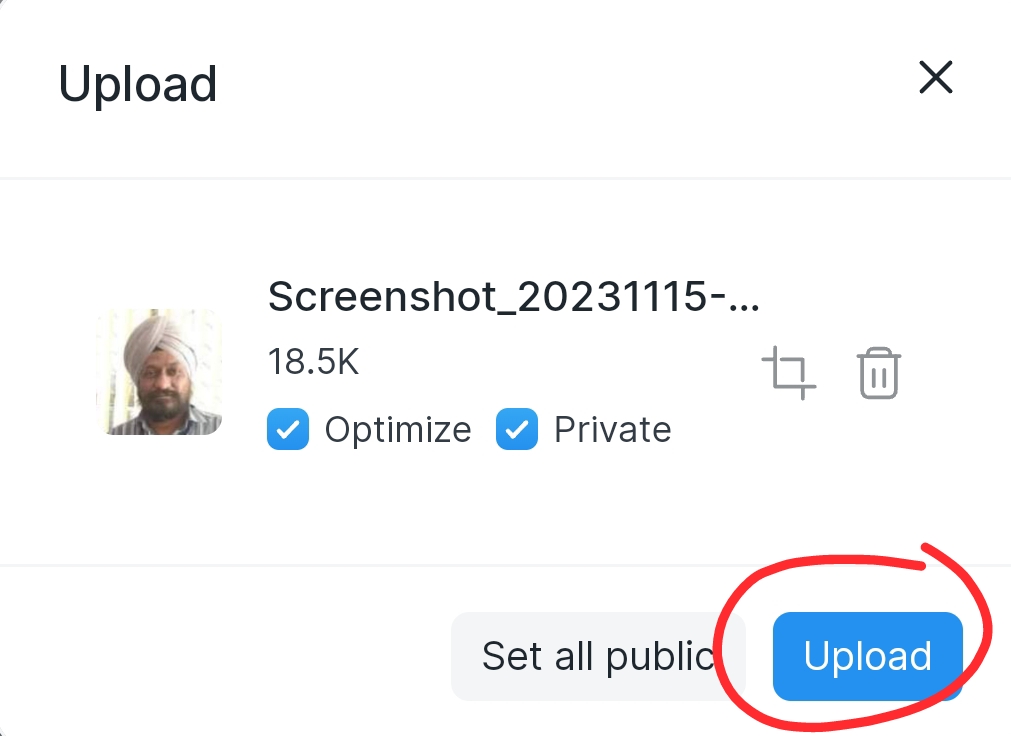
Make sure to Check the Private Checkbox.
-
Now Click on Upload.
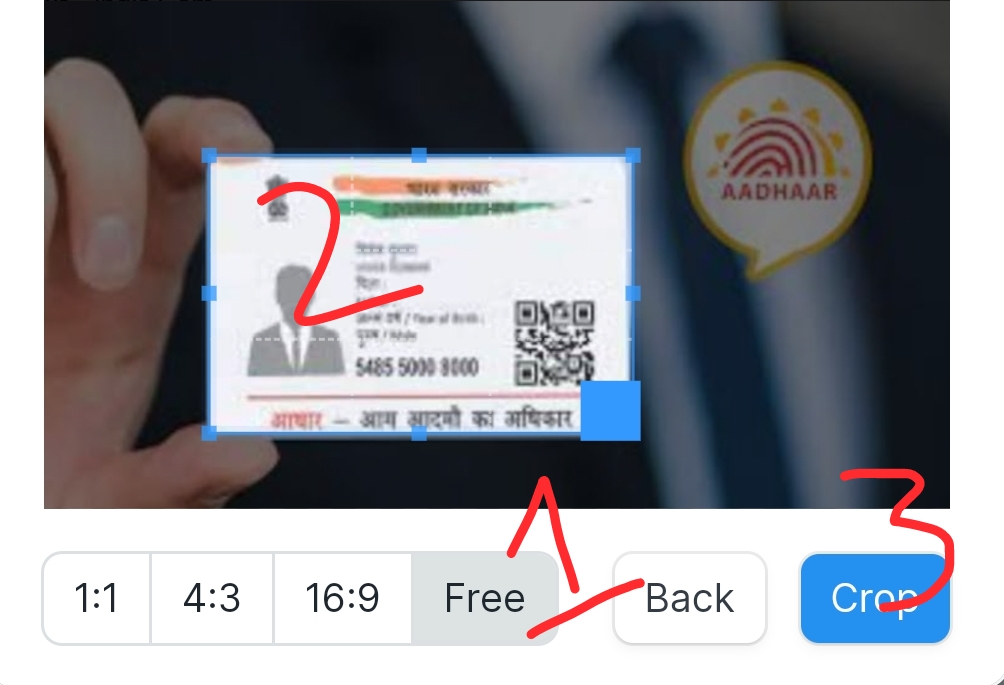
- Now For your Photo ID Choose Aspect ratio as free.
- Adjust the blue box accordingly.
-
Click Crop.
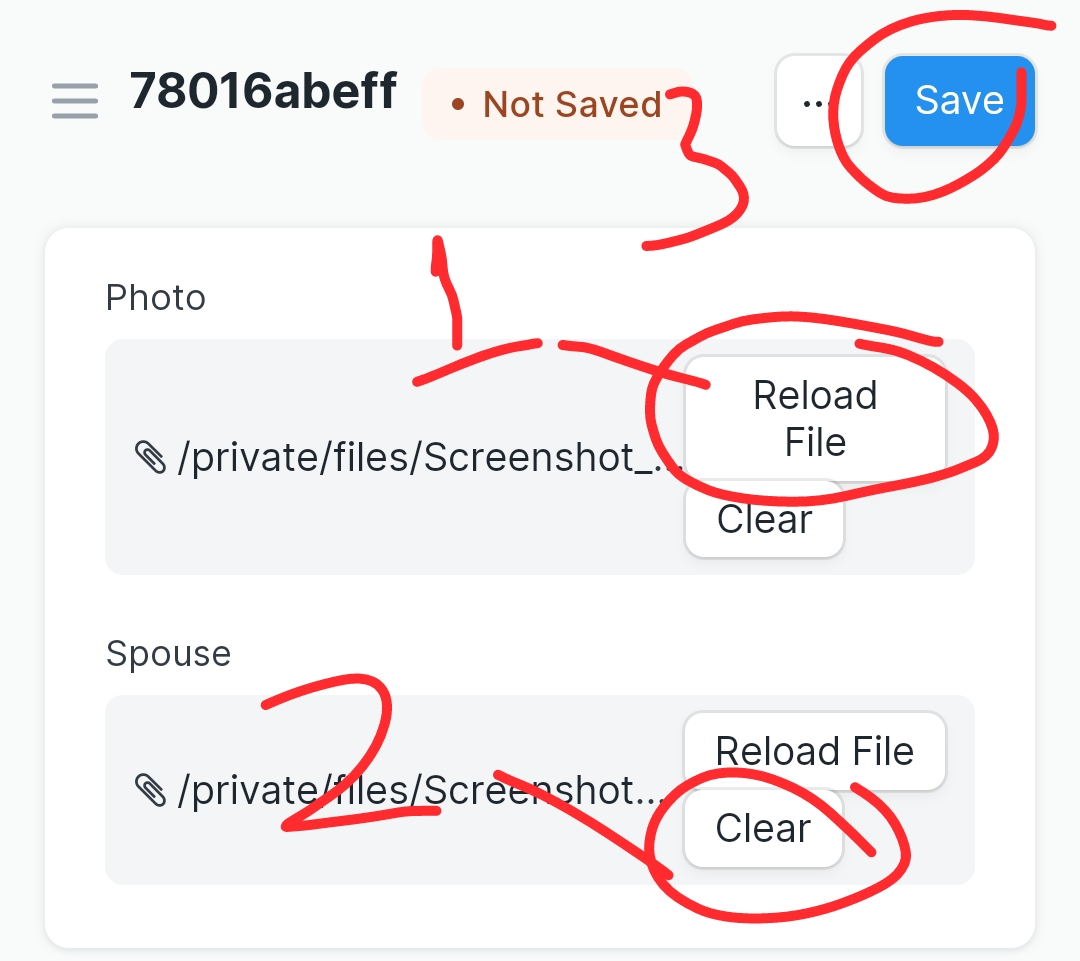
- Click “Reload File” to load the uploaded file (optional).
- Click “Clear” to choose another photo.
-
Remember to click “Save” to save your changes.
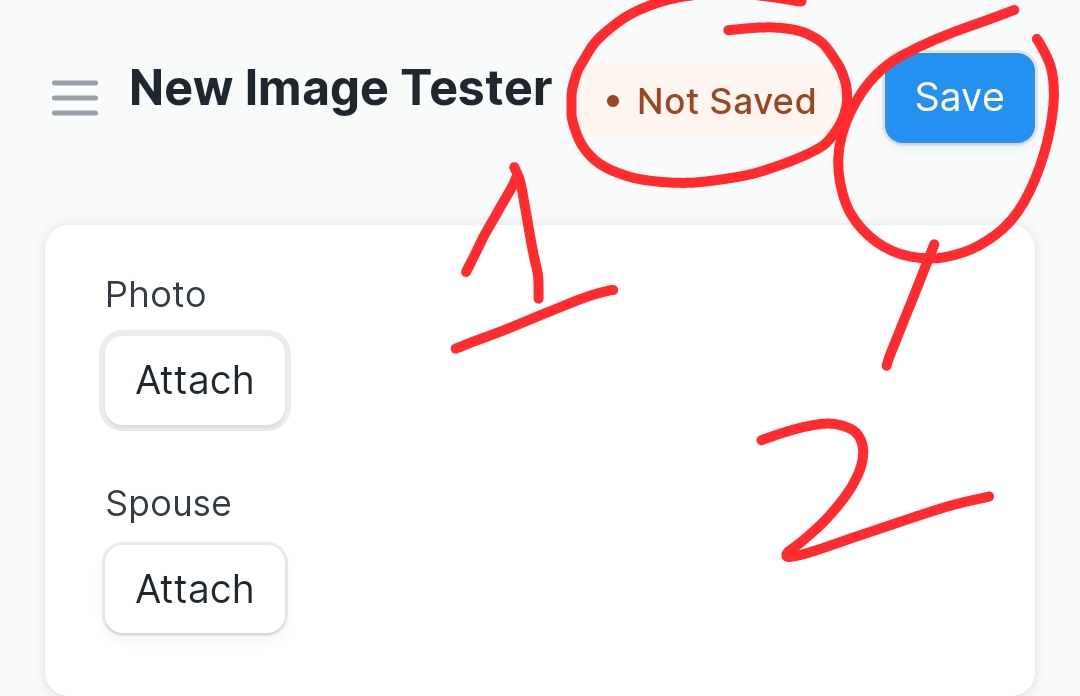
- It shows Not Saved.
-
Click on Save
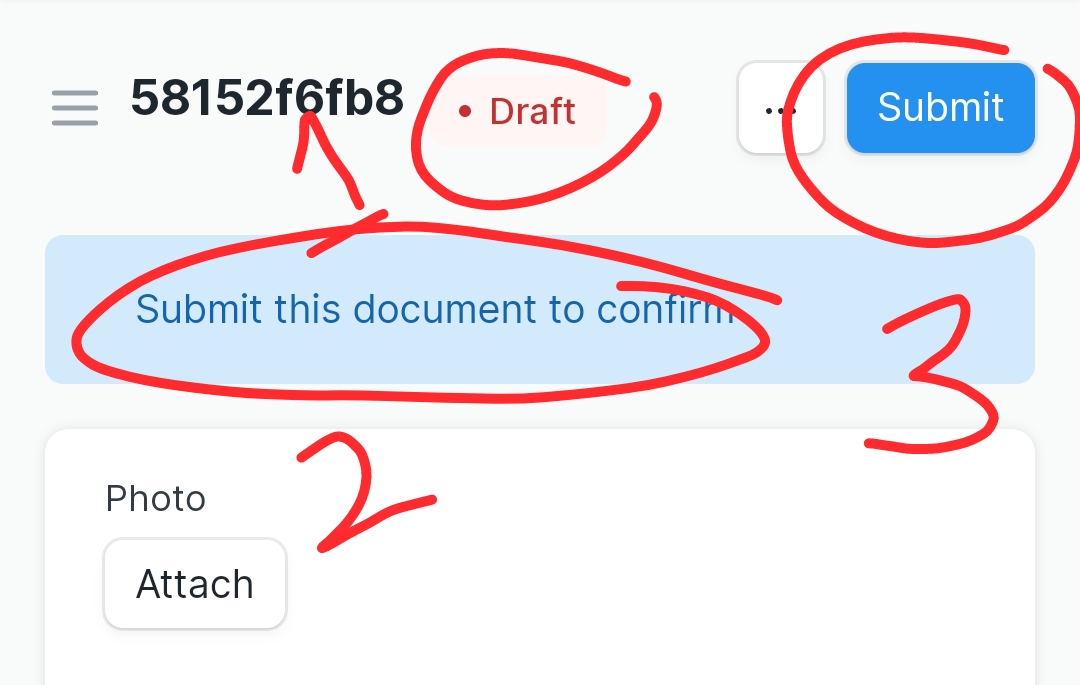
- When the document is in draft state, upon being prompted, click “Submit this document” to confirm.
- Then, proceed to click “Submit” to submit your form.
